

At Pluginizer, we know that creating a WooCommerce extension can be a game-changer for your online store.
WooCommerce extensions add powerful features to your e-commerce site, helping you stand out in a crowded market.
In this guide, we’ll walk you through the process of how to create a WooCommerce extension, from setting up your development environment to launching your custom functionality.
What Are WooCommerce Extensions?
The Core of WooCommerce Extensions
WooCommerce extensions are WordPress plugins designed to enhance the functionality of your online store. These add-ons integrate with WooCommerce core, introducing new features or improving existing ones. For instance, an extension might add a subscription service or implement advanced shipping options to your e-commerce site.
Types of Extensions You Can Create
The world of WooCommerce extensions is diverse. Payment gateway extensions top the popularity charts, enabling store owners to offer additional payment methods. Shipping extensions calculate complex rates or integrate with specific carriers. Product extensions add new product types or customize how items are displayed and sold.
Marketing extensions (which help with email campaigns, SEO, or social media integration) are gaining traction. Analytics extensions provide deeper insights into store performance and customer behavior.

The Power of Custom Extensions
Custom extensions offer several advantages:
- Tailored Functionality: They allow you to personalize your website to meet specific business goals.
- Business Opportunity: With millions of active WooCommerce stores worldwide, a well-designed extension can generate substantial revenue.
- Skill Enhancement: Developing extensions deepens your understanding of WooCommerce and WordPress, making you a more valuable developer.
Extension Development Basics
To create WooCommerce extensions, you need a solid grasp of PHP and JavaScript. Familiarity with WordPress hooks and filters is essential, as these are the primary methods for interacting with WooCommerce.
Start with a simple project (like adding a custom field to the product page or modifying the checkout process). As your confidence grows, tackle more complex projects.
Always adhere to WooCommerce coding standards and best practices. This ensures your extension remains compatible with future WooCommerce updates and works well with other plugins.
Tools and Resources
Several tools can streamline your extension development process:
- Local Development Environment: Set up a local WordPress installation for testing (tools like LocalWP or XAMPP can help).
- Version Control: Use Git to track changes in your code.
- WooCommerce Developer Resources: Utilize official documentation and guides provided by WooCommerce.
The next step in your journey to create a WooCommerce extension is to set up your development environment. This process involves installing the necessary tools and configuring your local workspace for efficient coding and testing.
Setting Up Your WooCommerce Development Environment
Essential Tools for Extension Development
To create WooCommerce extensions, you need specific tools. Install a code editor such as Visual Studio Code or PhpStorm. These editors offer syntax highlighting and debugging features that will speed up your coding process.
Set up a local server environment next. Local provides an easy-to-use interface for managing WordPress sites locally. It offers root SSH access, WP-CLI, and the ability to hot-swap PHP environments for easy testing.
Version control is essential. Install Git and create a GitHub account to track changes and collaborate with others. This practice helps maintain code quality and allows you to revert changes if needed.

Creating Your Local WordPress Installation
With your tools ready, set up a local WordPress installation. Launch Local and click “Create a new site.” Choose a name for your development site and select the latest versions of PHP and MySQL.
After site creation, access the WordPress admin panel and install the Classic Editor plugin. This step ensures compatibility with older themes and plugins you might encounter during development.
Installing WooCommerce
Add WooCommerce to your local WordPress site. In the WordPress admin panel, go to Plugins > Add New and search for WooCommerce. Install and activate the plugin.
Run the WooCommerce setup wizard, but don’t enter real business details – this is just for testing. Skip the steps for adding products and setting up payments for now.
Configuring WooCommerce
Navigate to WooCommerce > Settings and familiarize yourself with the various options. Focus on the Products and Checkout tabs, as these are areas you’ll likely work with when developing extensions.
Create a few sample products to test your extensions effectively. Go to Products > Add New and add at least one simple product and one variable product. This variety will help you ensure your extension works across different product types.
Install the Advanced Notifications extension for WooCommerce. This tool lets you set up order and stock notifications for users other than the admin, which can be invaluable for debugging your extensions during development.
Your development environment is now set up and ready for extension creation. The next step involves developing your extension’s core functionality and integrating it with WooCommerce hooks and filters.
How to Build Your WooCommerce Extension
Define Your Extension’s Purpose
Before you write any code, clearly outline what your extension will do. Will it add a new payment gateway? Create a custom product type? Or enhance the checkout process? Your extension’s purpose will guide its development and determine which WooCommerce hooks you’ll need to use.
For this example, we’ll create an extension that adds a gift wrapping option to products. This extension will modify the product page, shopping cart, and order processing.
Write the Core Functionality
Start by creating a new PHP file for your extension. Name it descriptively, such as gift-wrap-for-woocommerce.php. Begin with the standard WordPress plugin header:
“`php<?php/*Plugin Name: Gift Wrap for WooCommerceDescription: Adds a gift wrapping option to WooCommerce productsVersion: 1.0Author: Your Name
*/
if (!defined(‘ABSPATH’)) exit; // Exit if accessed directly
function gift_wrap_init() { // Your code here}add_action(‘plugins_loaded’, ‘gift_wrap_init’);“`
This structure ensures your extension only runs when WordPress is fully loaded and prevents direct access to the file.
Integrate with WooCommerce Hooks
WooCommerce provides numerous hooks that allow you to modify or extend its functionality. There are two types of hooks: actions and filters. Action hooks allow you to insert custom code at various points, while filter hooks allow you to modify data. For our gift wrapping example, use the woocommerce_before_add_to_cart_button hook to add a gift wrap option to the product page:
phpfunction add_gift_wrap_option() { echo ‘<div class=”gift-wrap-option”>’; echo ‘<label><input type=”checkbox” name=”gift_wrap” value=”yes”> Add gift wrapping ($5)</label>’; echo ‘</div>’;}add_action(‘woocommerce_before_add_to_cart_button’, ‘add_gift_wrap_option’);
To process this option when added to cart, use the woocommerce_add_cart_item_data hook:
phpfunction add_gift_wrap_to_cart($cart_item_data, $product_id) { if (isset($_POST[‘gift_wrap’]) && $_POST[‘gift_wrap’] === ‘yes’) { $cart_item_data[‘gift_wrap’] = true; $cart_item_data[‘gift_wrap_price’] = 5.00; } return $cart_item_data;}add_filter(‘woocommerce_add_cart_item_data’, ‘add_gift_wrap_to_cart’, 10, 2);
Add Settings and Configuration
Most extensions benefit from having configurable options. Use the WordPress Settings API to create an admin page for your extension. Here’s a basic example:
“`phpfunction gift_wrap_settings_init() { add_options_page(‘Gift Wrap Settings’, ‘Gift Wrap’, ‘manage_options’, ‘gift-wrap-settings’, ‘gift_wrap_settings_page’);}add_action(‘admin_menu’, ‘gift_wrap_settings_init’);
function gift_wrap_settings_page() { // Your settings page HTML and form here}“`
Test and Debug Your Extension
Testing ensures your extension works as intended. Create a variety of test scenarios:
- Add products with and without gift wrapping to the cart.
- Process orders with gift-wrapped items.
- Test on different themes and with other popular plugins active.
Use WordPress’s built-in debugging features by adding define(‘WP_DEBUG’, true); to your wp-config.php file. This will display PHP errors and warnings, helping you identify and fix issues quickly.
Try to test your extension on different PHP versions and WordPress configurations to ensure broad compatibility (this practice will save you time in the long run).
Final Thoughts
Creating a WooCommerce extension opens new possibilities for your online store. We walked through the essential steps, from understanding basics to building core functionality. The WooCommerce ecosystem offers vast opportunities for developers to solve problems for thousands of store owners worldwide.
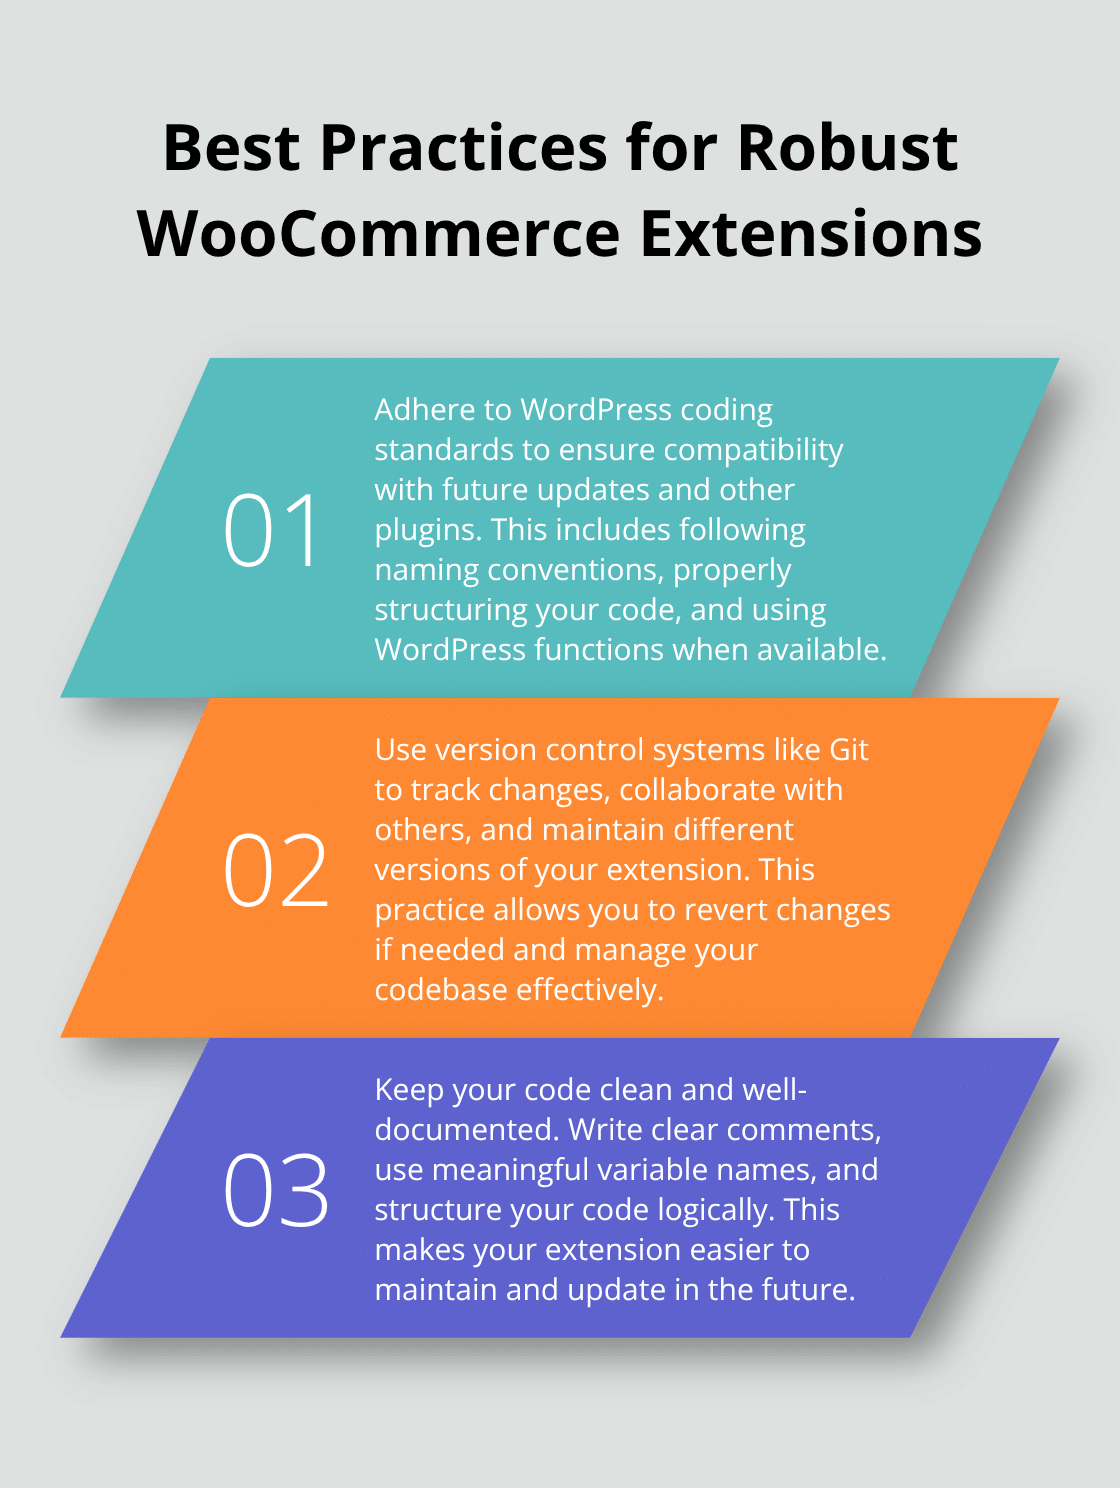
Following best practices improves your extension’s quality and maintainability. We recommend adhering to WordPress coding standards, using version control, and keeping your code clean and well-documented. These practices will help you create robust, compatible extensions that stand the test of time.
For those who want to supercharge their WordPress and WooCommerce development, Pluginizer offers an extensive library of premium plugins and themes. With access to over 15,000 assets, you can enhance your website’s functionality and performance. Start coding today and bring your next great WooCommerce extension to life!